-

Getting Started 16
-

Maintenance 14
-

Troubleshooting 14
-

Repair 8
-

Laser 101 3
-

Materials 10
-

Accessories 20
-

Multi-Roller 7
-

LightBurn 9
Move Y-Sensor Bracket


Overview
What you will learn
How to move the Y-Sensor bracket
Why do this?
Does the gantry hits the back of the laser when first homing? Did you have a camera collision? If you answered yes to any of these questions, please follow the instructions on this page. If you answered no, this guide is not for you.
What you need
- Phillips head screwdriver
- New Y-Sensor (if replacing)
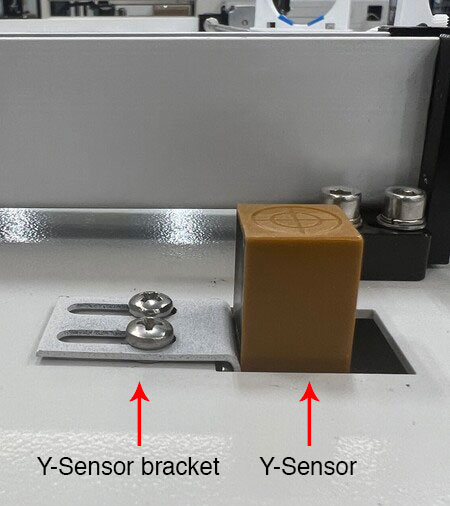
What is the Y-Sensor?
Instructions
☠️ WARNING ☠️ Turn off and unplug your machine before starting.
Adjust Y-Sensor
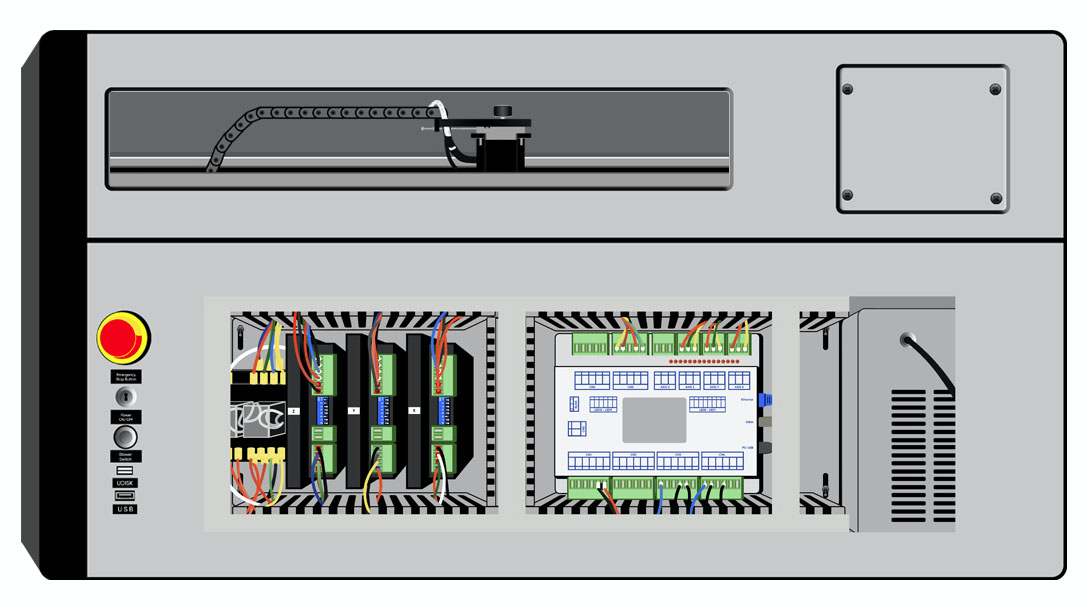
- With the cabinet key, open the upper left panel and lower panel on the right side of the machine.
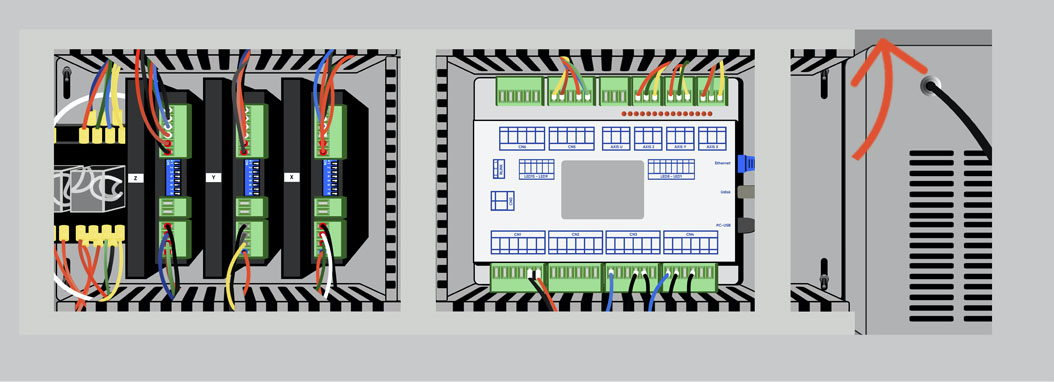
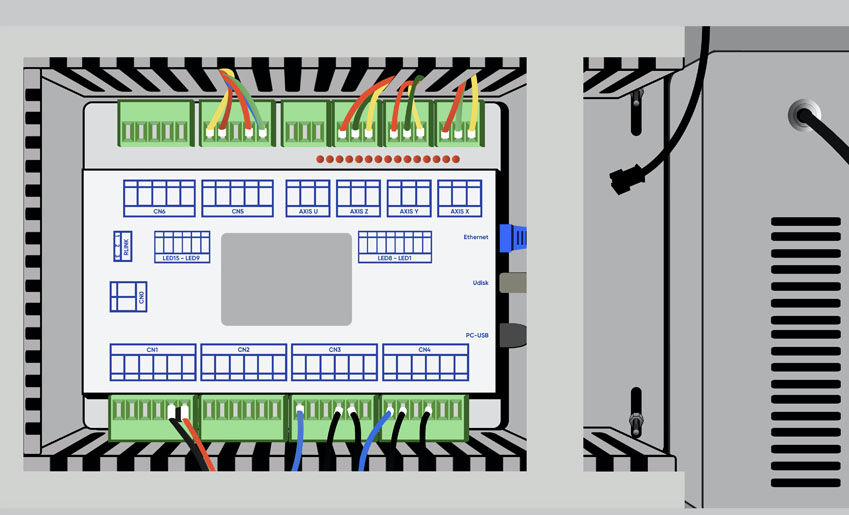
Right side of laser, with lower and upper panels removed - The Y-Sensor is located in the upper left cabinet, on the far right side.
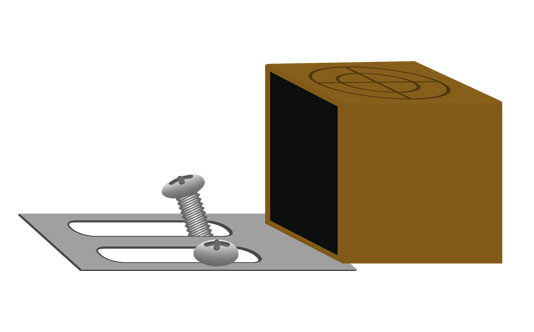
Location of Y-Sensor - A regular Phillips head screwdriver will fit comfortably inside of the cabinet. Loosen the two screws in front of the Y-Sensor 1-2 turns using a Phillips head screwdriver.
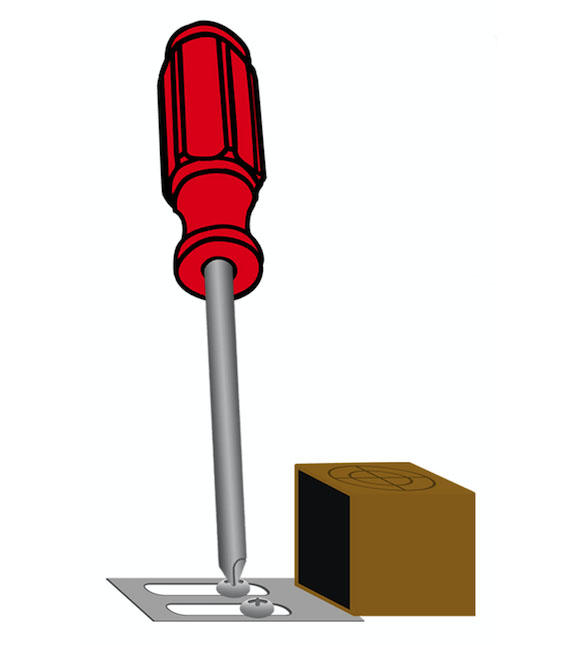
Phillips head screwdriver, loosening screw on Y-sensor bracket - With the screws loosened, the Y-Sensor can now be adjusted. Once in the correct position, tighten the screws.
- To remove the Y-Sensor continue to the next step.
Remove Y-Sensor
- If the Y-Sensor needs to be removed, completely unscrew the screws and set them aside.
Y-Sensor bracket, with loosened screws - The Y-Sensor is connected with a wire that can be located in the lower cabinet.
Location of wire connected to Y-Sensor - Reach your hand into the upper right side of the lower cabinet. There is the black wire connected to the Y-Sensor. Gently pull the wire to remove it from the sensor. Let it hang into the lower cabinet.
Black wire from Y-Sensor, hanging in the lower cabinet - Replace the Y-Sensor and repeat the steps in reverse.


