In this guide, you will learn the basic features of LightBurn, a popular engraving software used for laser engravers. We'll explore what LightBurn is and its overall purpose in the world of laser cutting and engraving.
Computer with macOS or Windows OS and WiFi connection capability
Internet Connection
LightBurn License Key
USB Thumb Drive (attached to the machine ignition keys)
USB Cable
What is LightBurn?
LightBurn is a comprehensive software package specifically tailored for controlling laser cutters and engravers. It serves as a versatile platform for designing, editing, and executing laser projects with precision and efficiency. Whether you're creating intricate designs or precise cuts, LightBurn offers the tools and features needed to bring your ideas to life.
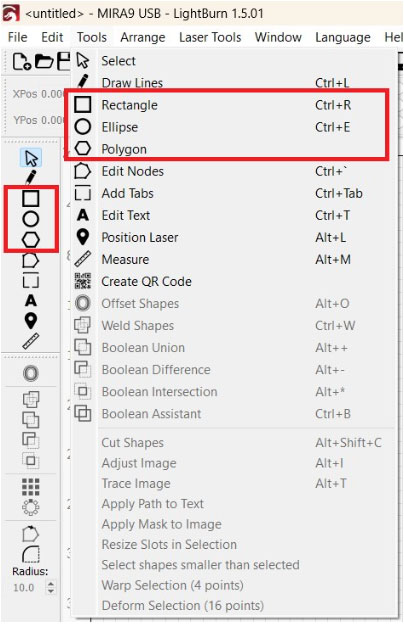
Click on the desired shape icon from the toolbar, then click and drag on the workspace to draw the shape.
Customize size, position, and rotation using the toolbar or properties window.
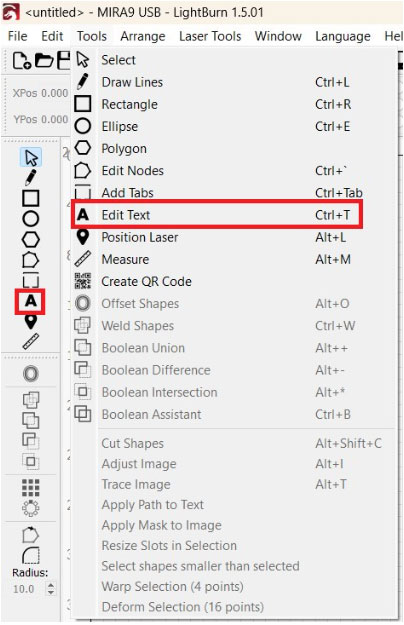
Text Tool
Select the text tool from the toolbar, click on the workspace to create a text box, and type your text.
Customize font, font size, alignment, etc., using the toolbar or properties window.
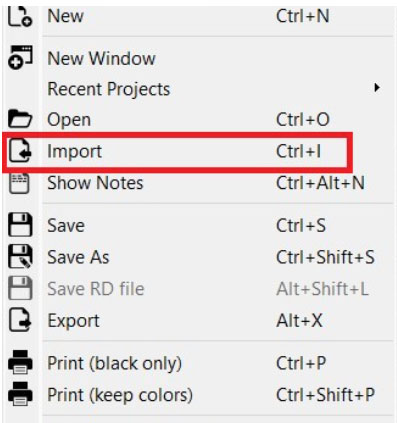
Image Import
Choose the image import tool from the toolbar, select your image file, and open it to place it on the workspace.
Resize, rotate, and position by using the toolbar.
NOTE: Most images will need to be traced using the image tracing feature to vectorize the file. Trying to engrave something photorealistic, or importing an already vectorized image are the exceptions to this rule. See LightBurn’s video on the trace feature.
Layers and Groups
Organize your designs with layers and groups.
Create, rename, and reorder layers and groups using options in the toolbar or layers window.
Use layers to separate elements and groups to combine multiple elements into one.
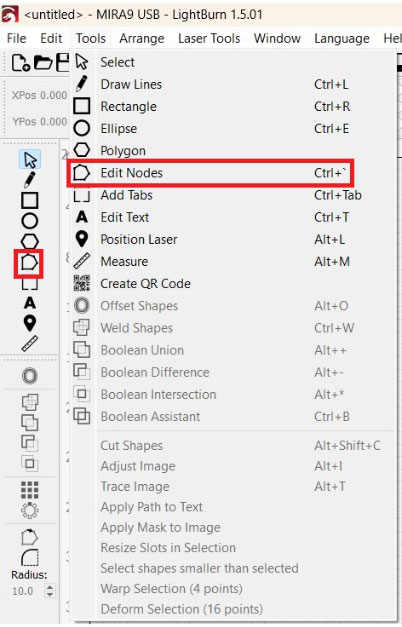
Node Editing
Select the node editing tool from the toolbar, click on a shape or path to select it, then manipulate nodes and control points to adjust the shape of a vectorized file.
Add, delete, or move nodes for custom shapes and paths.
Vector and Raster Support
Understanding Vector and Raster Graphics
Vector Graphics: Vector graphics are composed of mathematically defined shapes and lines. They are scalable and maintain their quality regardless of size. Examples include logos, text, and simple shapes. The most common vector file types are AI, CDR, and SVG.
Raster Graphics: Raster graphics are composed of a grid of pixels, each with its own color value. They are resolution-dependent and may lose quality when scaled up. Examples include photographs and detailed artwork. The most common raster file types include JPG, GIF, PNG, TIF, BMP, and PSD.
Both rasters and vectors can be rendered in EPS and PDF format, where the software that created the file dictates whether it’s a raster or vector file.
An AEON Laser (Ruida) controller can only read/run files that are formatted as a vector or G-code.
Working with Vector Graphics
To create vector graphics in LightBurn, use the shape tools or the text tool to draw shapes or add text.
Raster graphics can be converted into a vector via the “Trace” feature in LightBurn. See LightBurn video on the trace feature
Vector graphics are ideal for cutting outlines, engraving text, or creating precise shapes that need to maintain clarity at any scale.
You can adjust properties such as stroke color, fill color, line thickness, and more using the toolbar or properties window.
Working with Raster Graphics
To import raster graphics into LightBurn, use the image import tool to bring in images such as photographs or detailed artwork.
Raster graphics are suitable for engraving detailed images or adding textures to your projects.
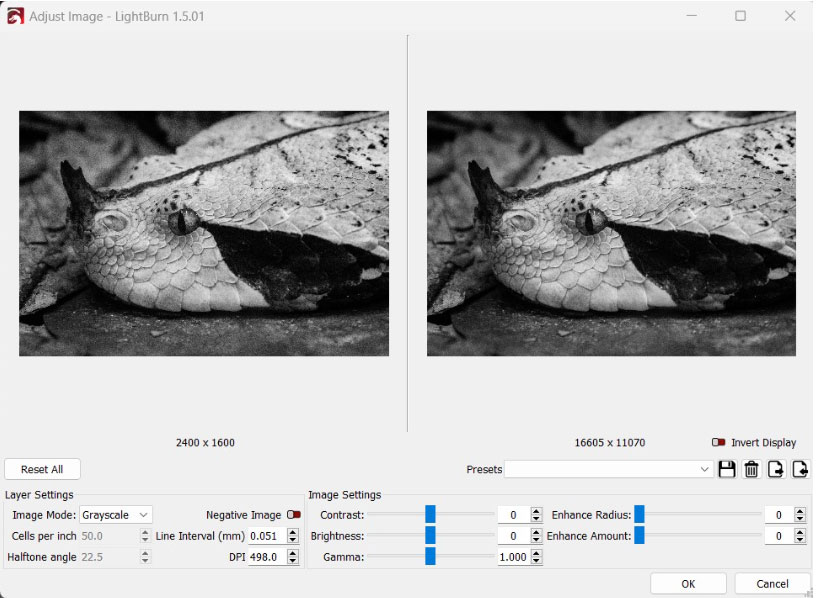
LightBurn offers options to adjust image properties like brightness, contrast, and dithering to achieve the desired engraving effect. Often these graphics need to be run through an outside photo editing software to achieve a good, usable quality.
NOTE: Engraving raster graphics is an advanced technique. It is recommended that you familiarize yourself with the software and machine using vector graphics before trying raster graphics.
Combining Vector and Raster Graphics
LightBurn allows you to combine vector and raster elements within the same project, giving you flexibility in your designs. For example, you can use vector shapes to create outlines for cutting and add raster images for engraving within those shapes. This combination allows for intricate designs with both precision and detail.
Optimizing Workflow
When preparing your design for laser cutting or engraving, it's essential to consider the differences between vector and raster graphics.
Vector graphics are typically used for both engraving and cutting, while unconverted raster graphics are used solely for high detail engraving.
LightBurn provides separate settings for vector and raster operations, allowing you to optimize parameters such as speed, power, and resolution for each type of operation.
Material Settings: LightBurn includes presets for different operations, simplifying the process of optimizing cutting and engraving parameters.These presets are typically found within the settings or configuration options of the software. Users can access them through a dedicated menu or window specifically designed for selecting material settings.
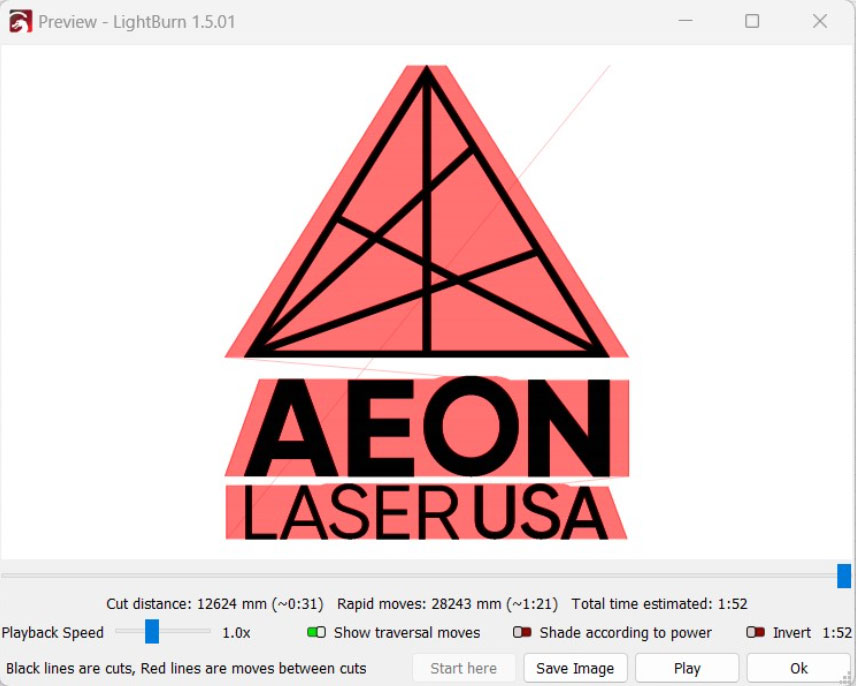
Preview Mode: Before sending a project to your laser cutter, you can preview it within LightBurn to ensure everything looks as intended.
G-Code Support: LightBurn can import and edit G-Code files, offering flexibility in workflow and compatibility with a wide range of laser hardware.
Understanding the Workspace
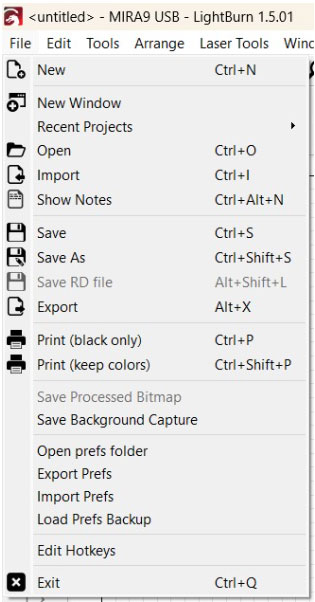
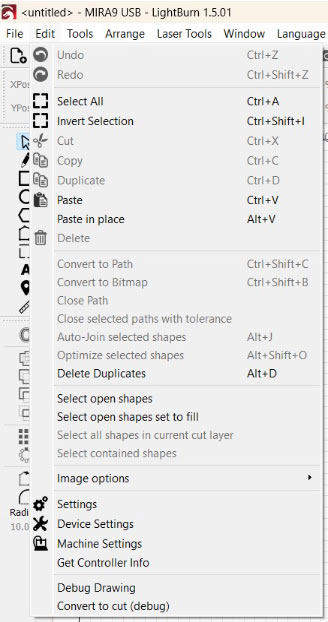
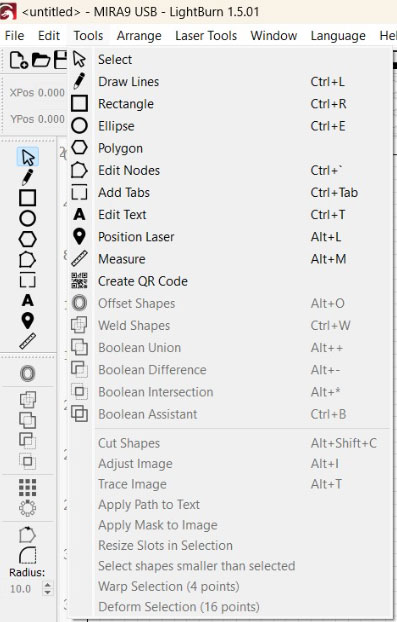
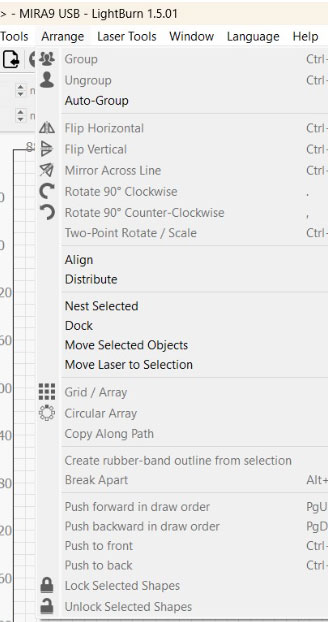
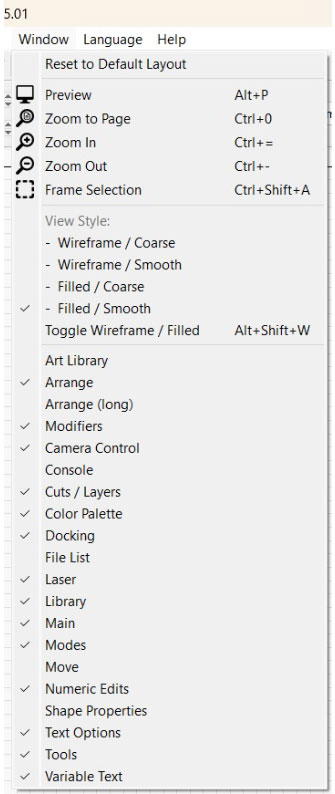
Main Menu Bar.
Contains menus for:
File
Edit
Tools
Arrange
Window
Help
Access different functions and settings within LightBurn.
Toolbar
Icons for commonly used tools and actions.
Includes selection tools, shape tools, text tools, zoom controls, etc.
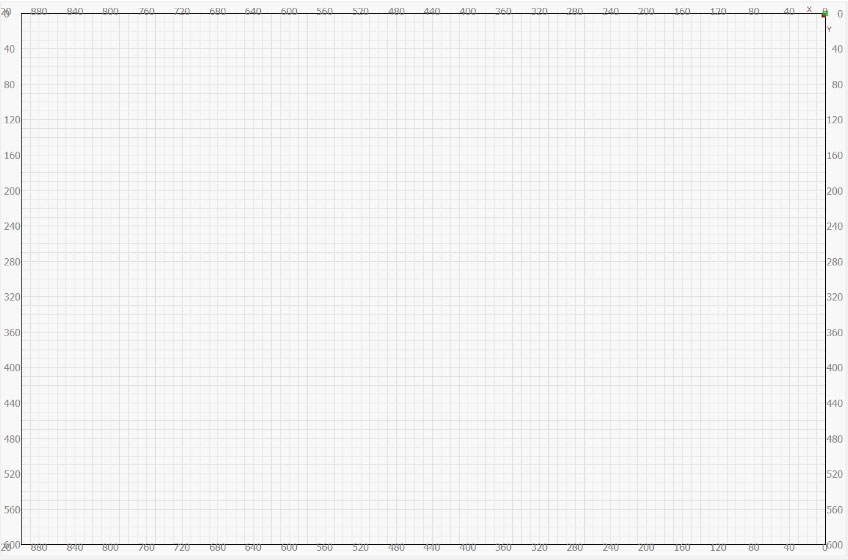
Workspace Area
Central part for designing and editing laser projects.
Grid represents the laser bed for accurate positioning.
Windows
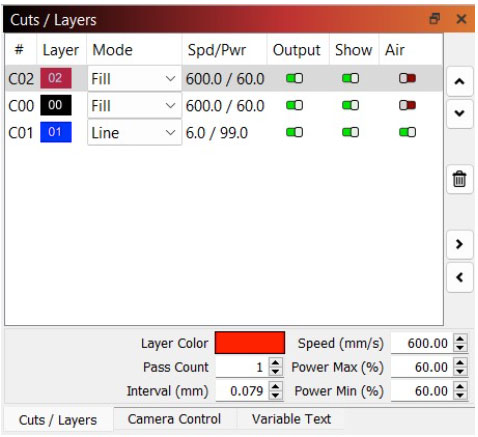
Various windows provide access to settings and controls. Common windows include Layers, Cuts/Layers, and Laser windows.
Layers and Cuts/Layers Window
Organize and manage project elements.
Speed and Power: Determines laser movement speed and power, adjustable based on material and desired outcome.
Lines per Inch (LPI): Refers to the number of lines or dots that can be engraved within one inch of a surface. Higher LPI values in engraving typically lead to finer details and smoother gradations. Line Interval will change in accordance with this value.
Mode: Controls the output style of the layer. Line and Fill are the commonly used modes.
Line: In Line mode, the laser follows the paths of the vector lines in your design. This is suitable for cutting or scoring.
Fill: The Fill mode is used for engraving solid areas. The laser moves in a back-and-forth pattern, covering the designated filled regions with a series of closely spaced lines.
Air Assist: Toggles the machine’s solenoid to switch between the internal air compressor (air assist OFF) and an external air compressor (air assist ON).
Output: Toggles the selected layer to run or not when sent to the machine.
Show: Toggles the layer to display in LightBurn.
Fiber (Galvo) laser specific options:
Cross-Hatch: A specific engraving or marking technique where the laser beam rapidly moves back and forth in two perpendicular directions to create a cross-hatched pattern on the material. This technique is often employed to achieve a more uniform and aesthetically pleasing engrave.
Scan Angle: Changes the angle in which the laser does engraving passes. Galvo systems use mirrors controlled by galvanometers to rapidly reposition the laser beam, allowing for high-speed and precise laser marking or engraving on a surface.
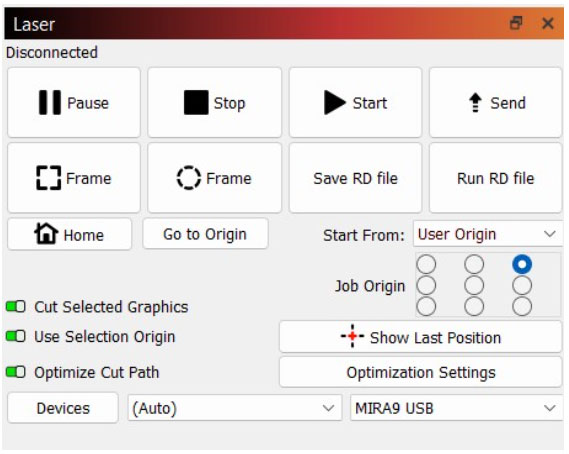
Laser Window
Devices: Sets how LightBurn will communicate with the machine, controls bed dimensions as set in the software, and other misc. settings set at the factory.
Start From: Sets the starting point for the laser on the workpiece, offering options like Absolute or User-defined.
User Origin will run the file based on a starting point selected by the user via the “ORIGIN” button on the keypad. This is the most common origin selection used, and the least prone to error, crashing, etc.
Absolute Coordinates will run the job based on where it is placed in LightBurn. The main workspace in LightBurn corresponds to the bed, so placing the file in the center of the LightBurn workspace will have the file run in the center of the machine bed. The LightBurn camera will always use Absolute Coords.
Job Origin: Sets the start point when framing the job on the machine.
Send: Transfers the design to the machine for execution. Files should ALWAYS be sent to the machine, and have the job started from the keypad.
Frame: Outlines the design's outer perimeter in the machine without activating the laser tube, allowing visual confirmation of positioning and size.
Cut Selected Graphics and Use Selection Origin: Toggling Cut Selected Graphics ON will send only the layer(s) that are actively selected to transfer to the machine to run. Use Selection Origin will set the user origin in reference to the layer selected, instead of all layers in the LightBurn workspace as a whole.
Optimization settings: These settings adjust how the laser will run the job. They can help decrease job time, reduce or remove unnecessary movement from the machine while running, change the order the layers are run, etc.
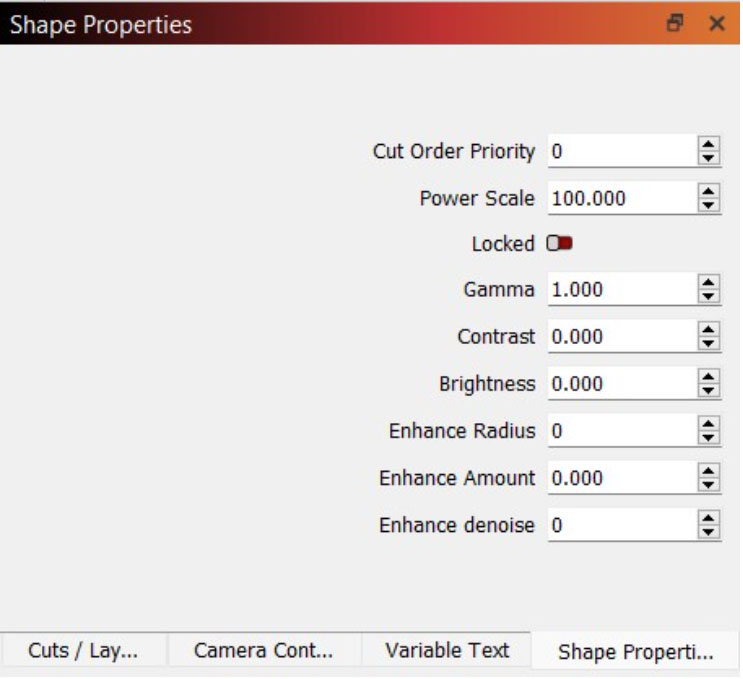
Properties (Adjust Image) Window
Adjust attributes of selected objects (position, size, etc.). Commonly used for photorealistic engraving.
Status Bar
Displays mouse cursor coordinates, zoom level, and laser connection status.
Preview Window
Visualize design before engraving or cutting.
Accessible via the "Preview" button.
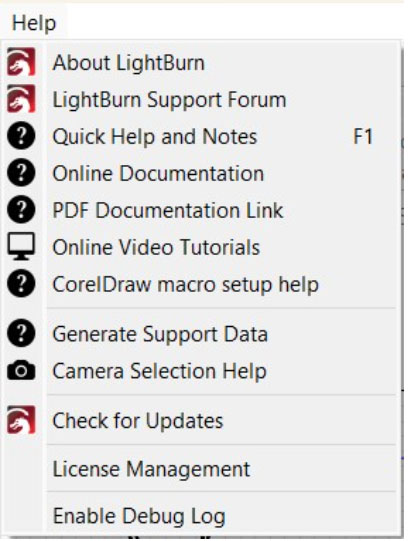
Help and Documentation
Comprehensive resources for learning LightBurn.
Access through the Help menu or LightBurn website.
Projects in LightBurn
Create a New Project
Open LightBurn and click on "File" > "New" to create a new project.
Design Your Project
Use the design tools in LightBurn to create your project.
Draw shapes, import images, add text, and customize as desired.
Arrange and position elements within the workspace area.
Set up cutting and engraving parameters such as speed, power, and mode during file creation.
Preview Your Project
Before sending your project to the laser cutter, preview it to ensure everything looks as intended.
Click on the "Preview" button or press the Spacebar to open the preview window.
Adjust settings if needed and review how your design will look when executed.
Send Your Project to the Machine
Once satisfied with your design, click on "Send" to transfer the file to the machine.
Ensure your laser cutter is connected and ready to receive the job.
Execute Your Project
Start the job on your machine according to the settings configured in LightBurn.
Monitor the progress of the job as it executes.
Once complete, remove your finished project from the laser cutter.
To Conclude
LightBurn is a versatile and user-friendly software package that streamlines the process of laser cutting and engraving. With its intuitive interface, powerful features, and compatibility with a wide range of laser hardware, LightBurn empowers users to unleash their creativity and bring their ideas to life with precision and efficiency. Whether you're a beginner or an experienced user, LightBurn offers the tools and support needed to take your laser projects to the next level. Further information about LightBurn can be found on the LightBurn FAQ page , LightBurn forum , as well as on the LightBurn tutorial page.
If you have any questions or concerns, please send us an email at support@aeonlaser.us for the fastest service. If your laser is malfunctioning, please submit a support ticket.
Did you find this document helpful? Let us know what you liked or what we can improve on by sending an email to helpusgrow@aeonlaser.us.