-

Getting Started 16
-

Maintenance 14
-

Troubleshooting 14
-

Repair 8
-

Laser 101 3
-

Materials 10
-

Accessories 20
-

Multi-Roller 7
-

LightBurn 9
Solenoid Retrofit MIRA 9

☠️ WARNING ☠️ Turn OFF and UNPLUG the machine before starting.
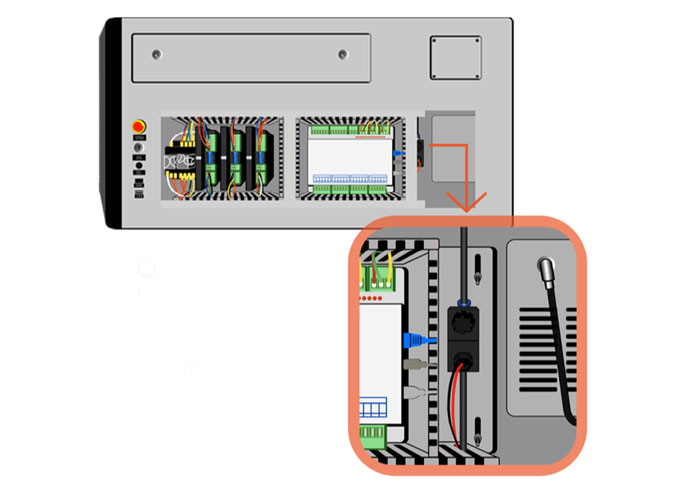
- Open the lower right side panel with the cabinet key, and locate the stock solenoid.
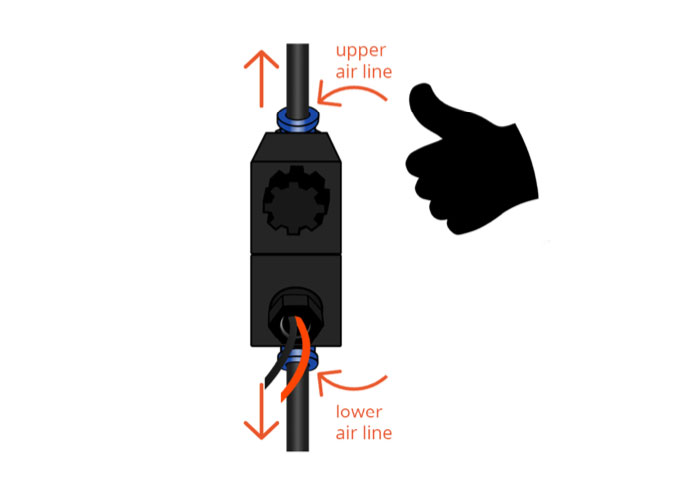
Side panel, stock solenoid - Remove the upper and lower air lines from stock solenoid. Press the blue plastic retainer towards the brass fitting and pull on the line with the other hand.
Stock solenoid - Unscrew the black plastic thumb nut holding the electrical portion of the solenoid in place.
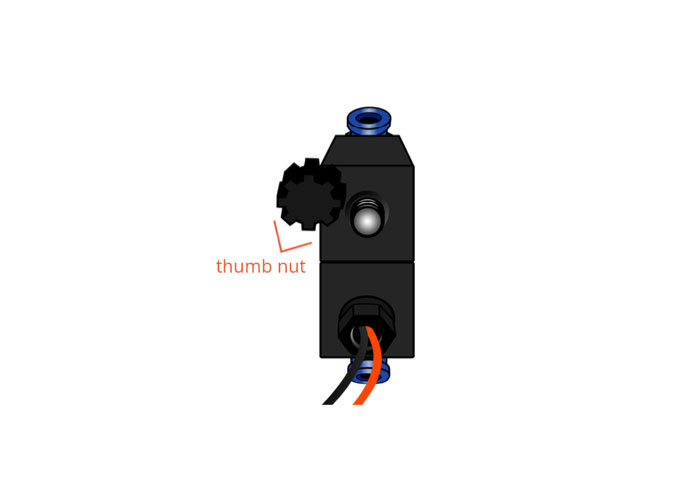
Thumb nut - Remove the black electrical portion of the solenoid from the silver valve body.
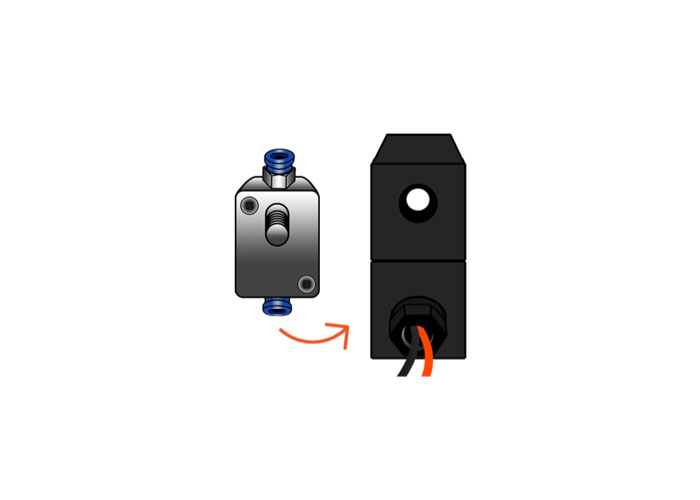
Black electrical portion, silver valve body - Install the electrical portion from the old solenoid onto the new solenoid valve body. Turn the electrical portion until the wires are positioned over the "A" fitting on the valve body, and you feel it "click" into place.
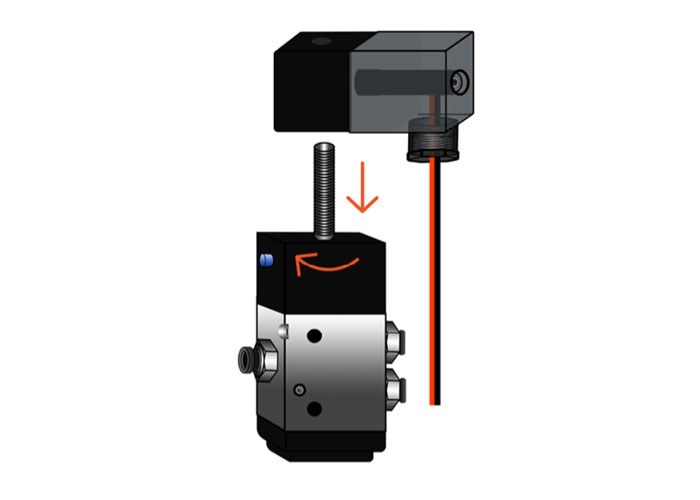
Electrical portion from the old solenoid, new solenoid valve body - Screw the black thumb nut into place, securing the electrical portion to the new valve body.

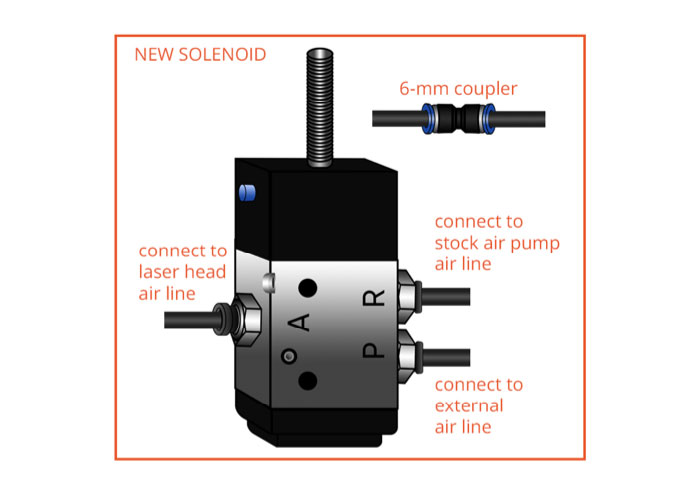
Black thumb nut in place - Using the 6-mm couplers, connect the:
- Air line leading up to the laser head to the air line connected to the "A" fitting on the new solenoid.
- Air line coming from the stock air pump to the air line connected to the upper right "R" fitting.
- Air line coming from external fitting to the air line coming from the lower right "P" fitting.
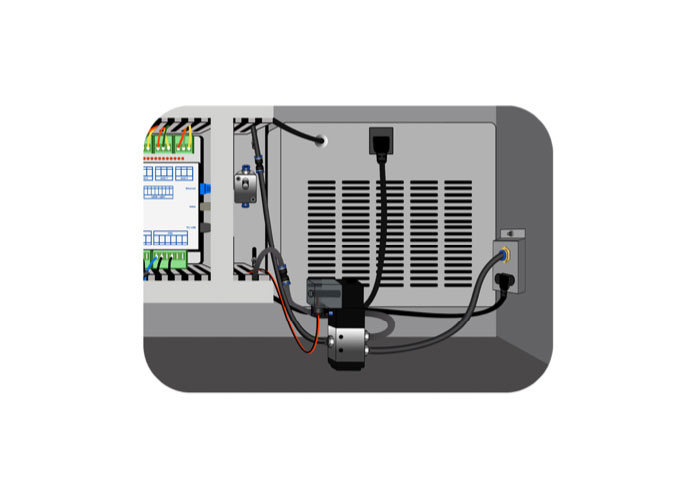
Side panel, new solenoid - Carefully lay the solenoid on the cabinet floor. Replace the side panel and lock the cabinet.


