-

Getting Started 16
-

Maintenance 14
-

Troubleshooting 14
-

Repair 8
-

Laser 101 3
-

Materials 10
-

Accessories 20
-

Multi-Roller 7
-

LightBurn 9
Replace MIRA 24V Power Supply

☠️ WARNING ☠️ Turn OFF and UNPLUG the machine before starting.
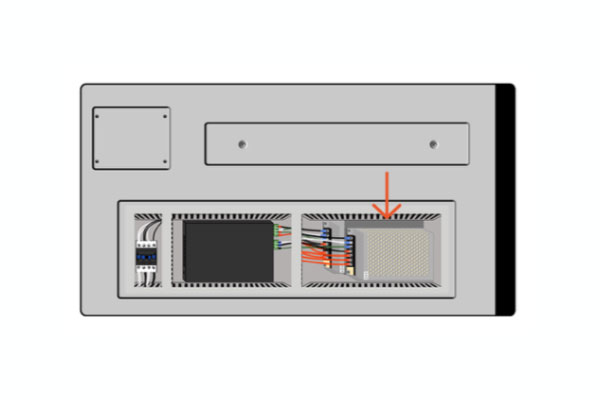
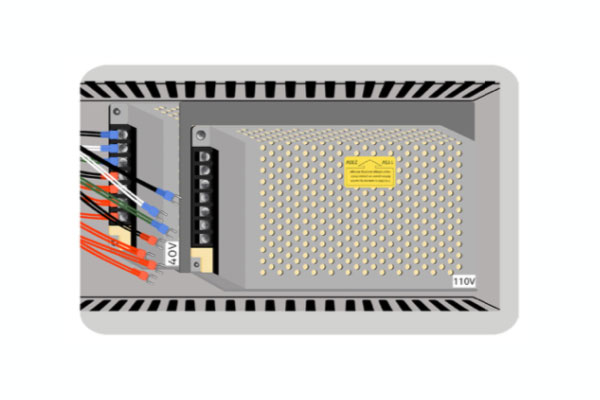
- Open the lower left side panel with the cabinet key, and locate the 24V power supply.
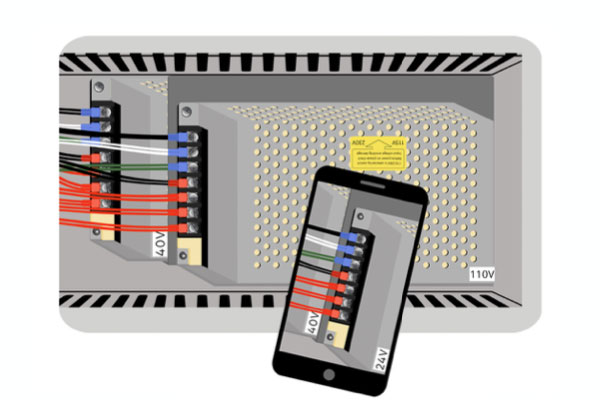
Side of machine - Take a picture of the wiring connections on the 24V power supply, to reference during reinstallation.
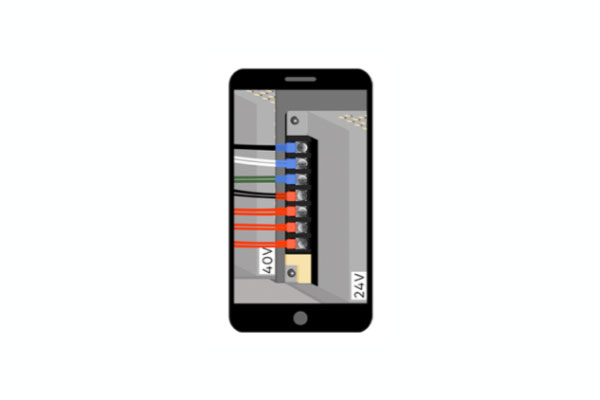
Phone camera - Use a phillips-head screwdriver to loosen wire terminals and remove wires.
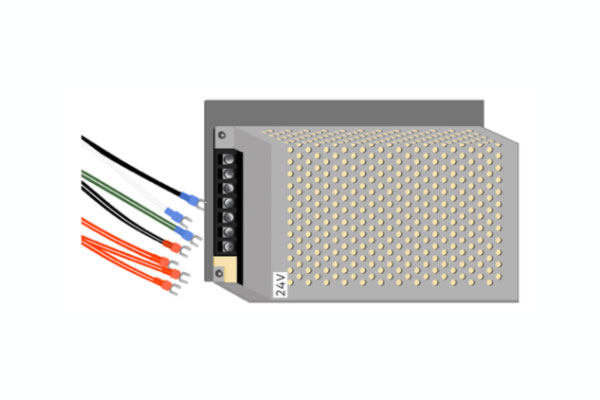
Power supply, wires - Use an Allen wrench to remove the mounting bolt in the lower left corner and the top right corner, and remove the unit.
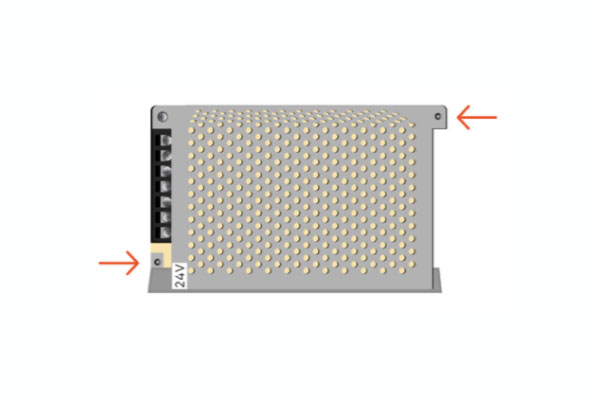
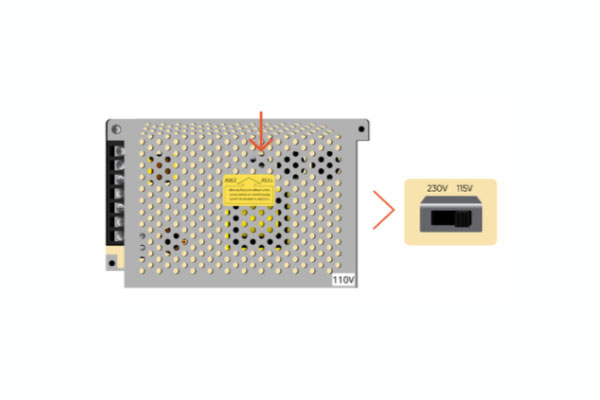
Power supply - Before installation of new unit, look through the grate to ensure that internal voltage switch is set to "115V".
Internal voltage switch - Use an Allen wrench to secure the mounting bolts in the lower left corner and the top right corner to mount the new unit.
Power supply, mounted - Attach the wires to the new unit using the photo from Step 2 and a phillips-head screwdriver to tighten the screws at the wire terminals.
Phone, machine - Close the panel and secure in place with the cabinet key.


esc