-

Getting Started 16
-

Maintenance 14
-

Troubleshooting 14
-

Repair 8
-
Laser 101 3
-

Materials 10
-

Accessories 20
-

Multi-Roller 7
-

LightBurn 9
Manual Focus MIRA
How to Manually Focus a MIRA Laser
- Press the Z/U button on the keypad to bring up the Z/U menu.
- Press the LEFT arrow key to raise the table until your work-piece is just below the nozzle.
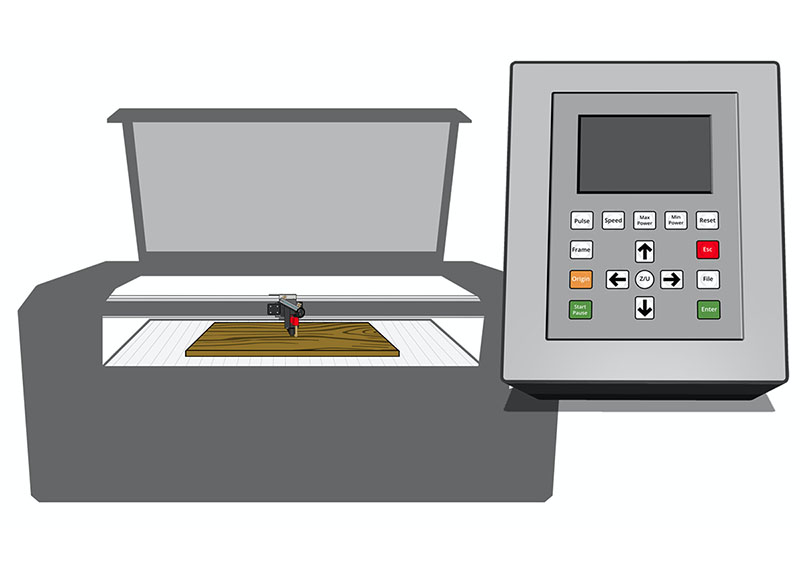
Laser and Keypad - Insert the focus gauge between the nozzle and the workpiece.
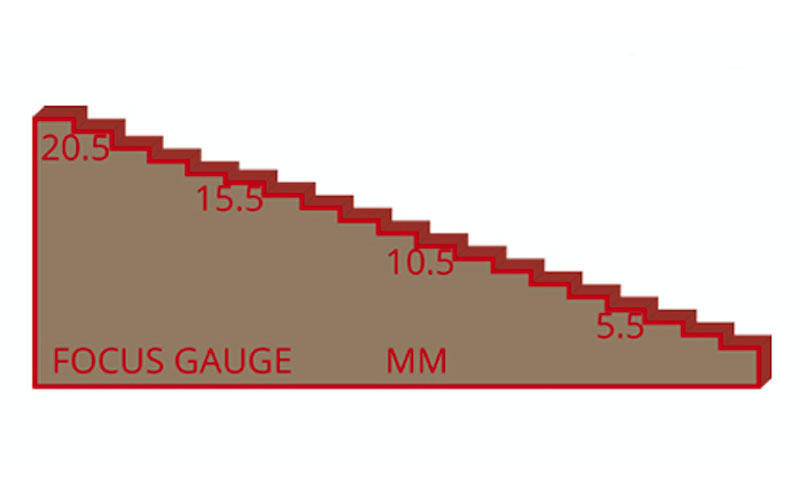
Focus gauge 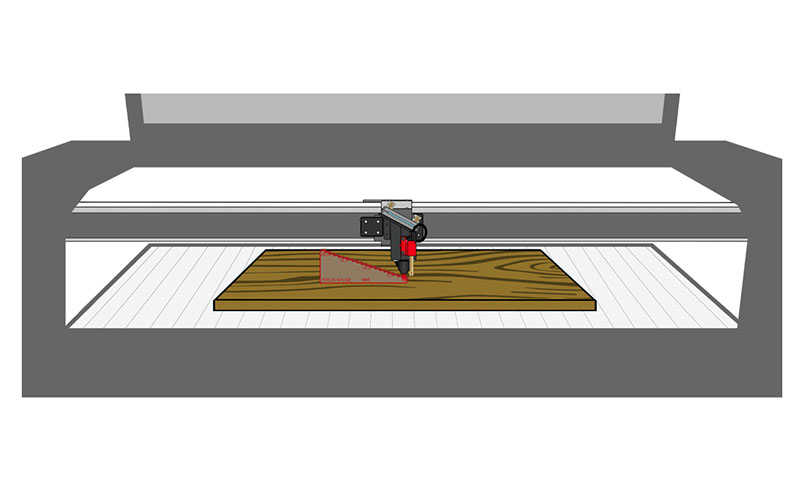
Focus gauge between the nozzle and workpiece - Tap the RIGHT arrow key to incrementally lower the table until the "step" for 8.5mm fits snugly between the workpiece and the nozzle.
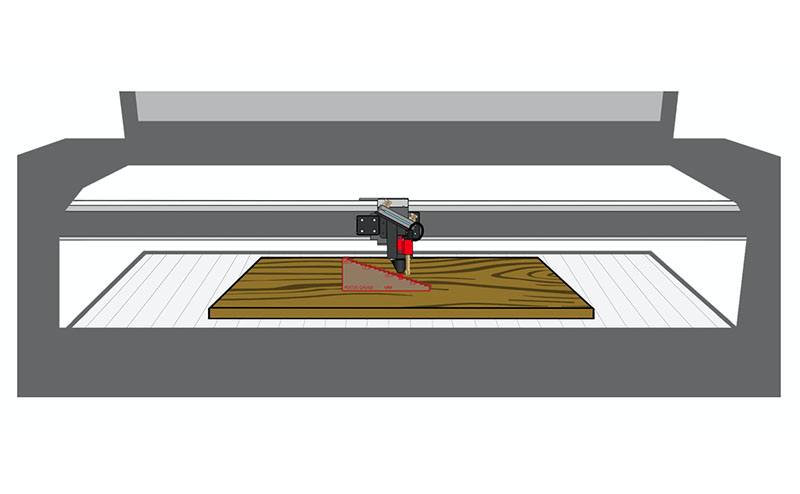
Focus gauge, 8.5mm between the nozzle and workpiece 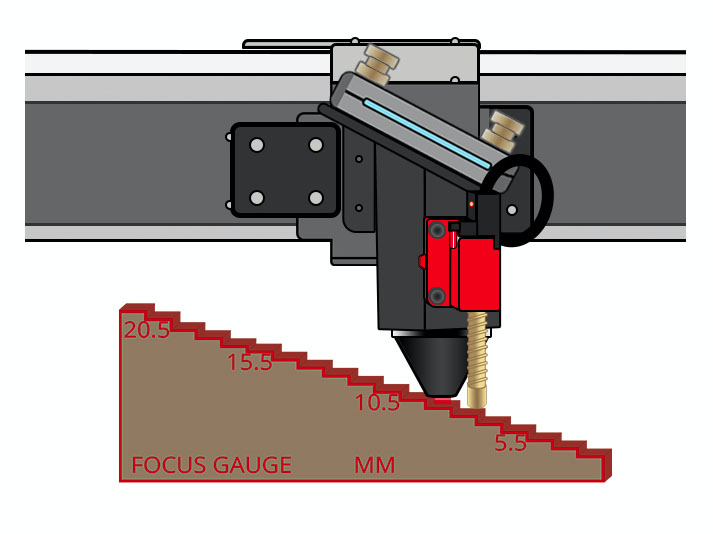
Focus gauge, 8.5mm between the nozzle and workpiece, close up
📌 Note: The focal distance depends on the material and desired result.
⚠️CAUTION ⚠️ Never try to raise the table with a manual focus gauge beneath the nozzle. The table should always be LOWERED into focus; NOT raised.
esc


