-

Getting Started 16
-

Maintenance 14
-

Troubleshooting 14
-

Repair 8
-

Laser 101 3
-

Materials 10
-

Accessories 20
-

Multi-Roller 7
-

LightBurn 9
LightBurn Setup Using LightBurn License - Before Your Machine Arrives (Mac)


What you'll need
- Apple Computer
- Internet Connection
- LightBurn Key
Need assistance?
Book time with a qualified technician and get help setting up and navigating LightBurn.
Software and Driver Installation
- Go to: https://lightburnsoftware.com/pages/trial-version-try-before-you-buy
- Download LightBurn to your computer. LightBurn will run on MacOS 10.11 or later.
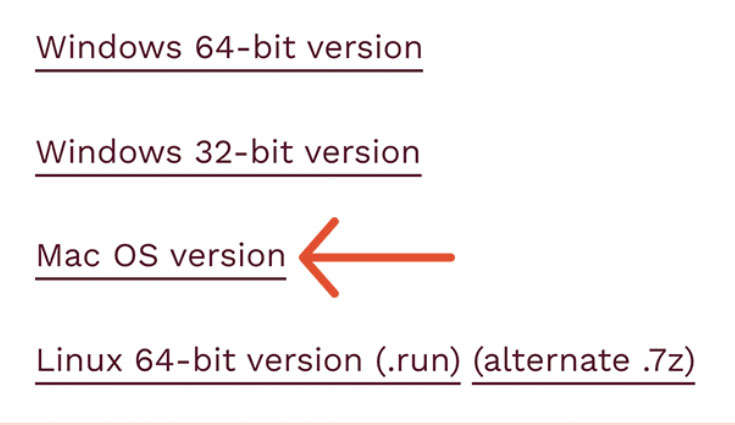
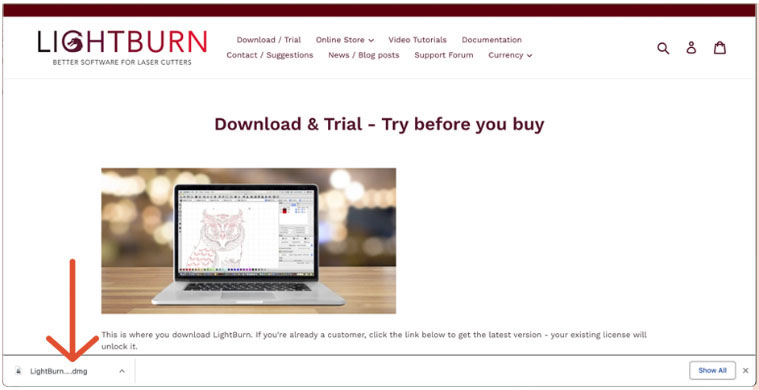
Choose Mac OSX Version - Double-click the LightBurn.dmg file to mount the disk image.
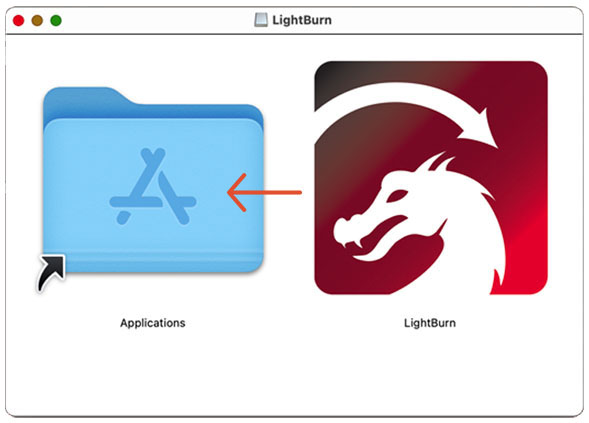
LightBurn.dmg file - Drag the LightBurn application into your applications folder, and then double-click on the LightBurn icon to begin.
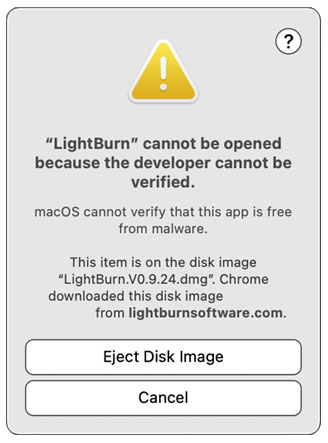
LightBurn app icon 📌 Note: If LightBurn will not open because it cannot be verified, perform the following:
Click Cancel.
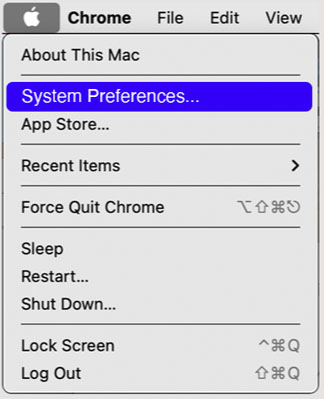
LightBurn cannot be opened warning Click on the Apple Logo. Then click on System Preferences.
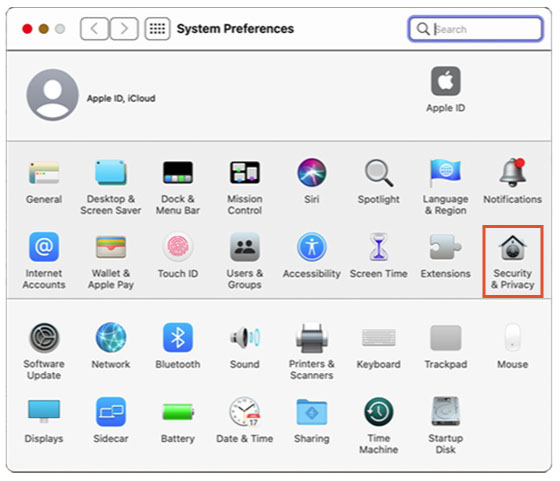
Apple logo > System Preferences Click Security & Privacy.
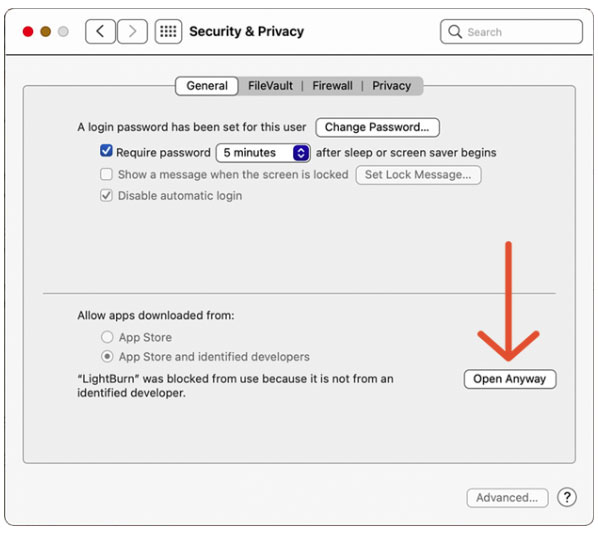
Security & Privacy icon Click Open Anyway.
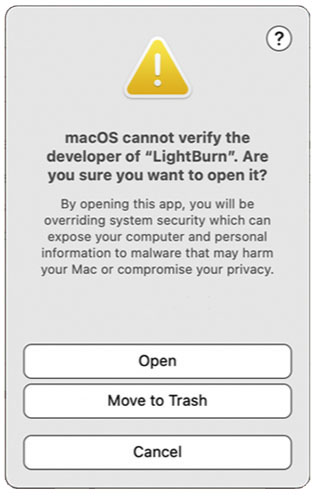
Click Open Anyway Click Open
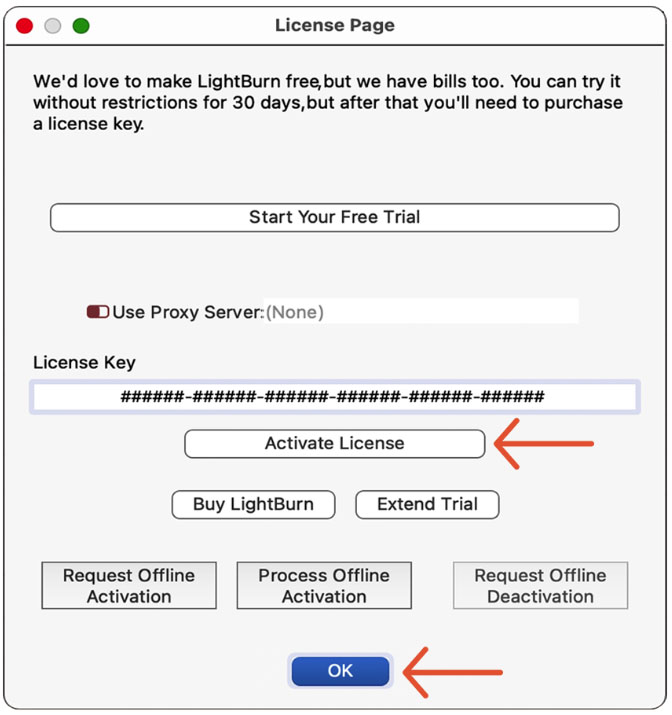
Click Open - Copy and paste your LightBurn License Key and then click the Activate License button. Click OK.
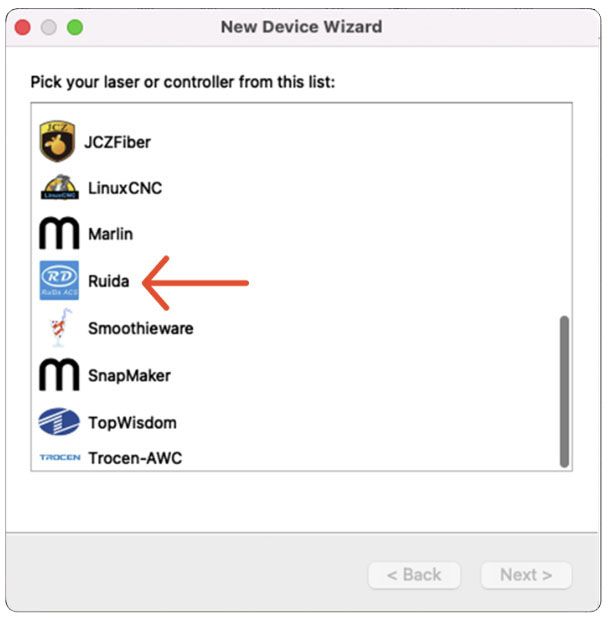
License Page window - Click on Ruida, and click Next.
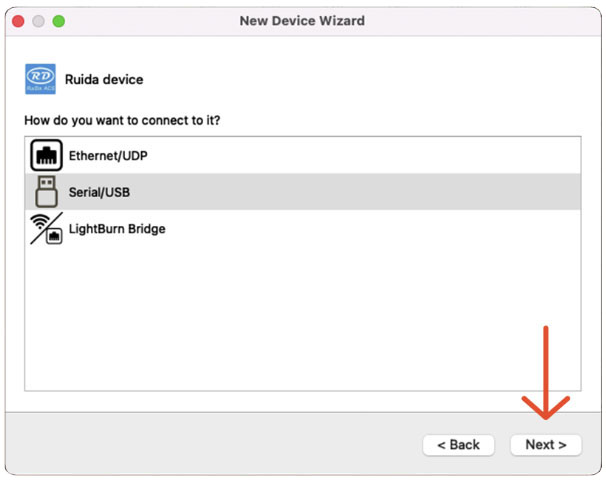
New Device Wizard window - Click on Serial/USB, and click Next.
New Device Wizard window - Enter the X Axis Length and the Y Axis Length in mm. Click Next.
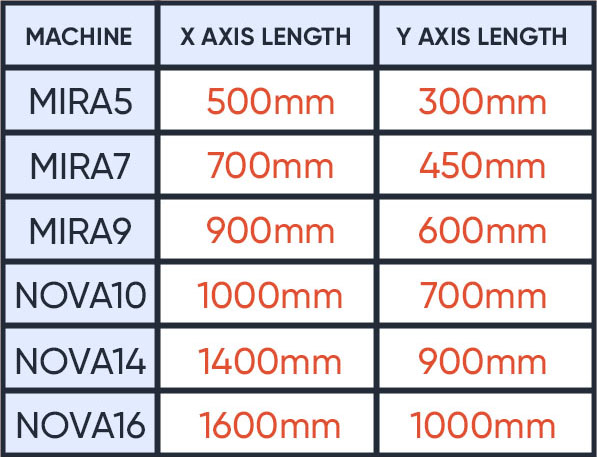
Find your machine's X and Y axis length 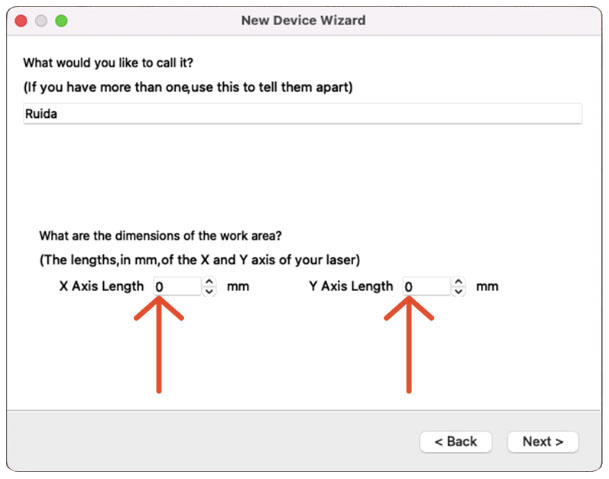
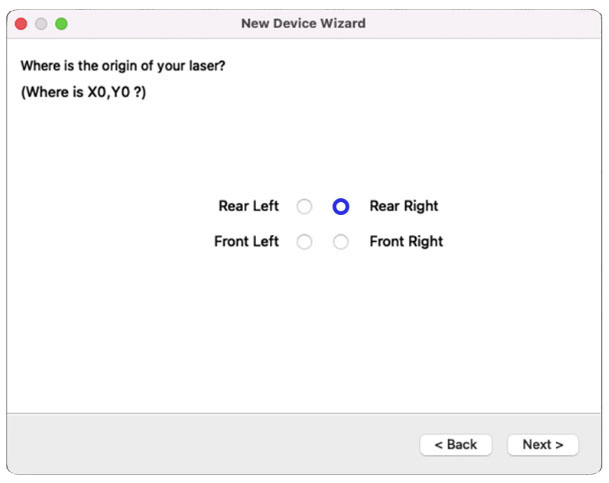
New Device Wizard window - Set the Origin by clicking on Rear Right. Click Next.
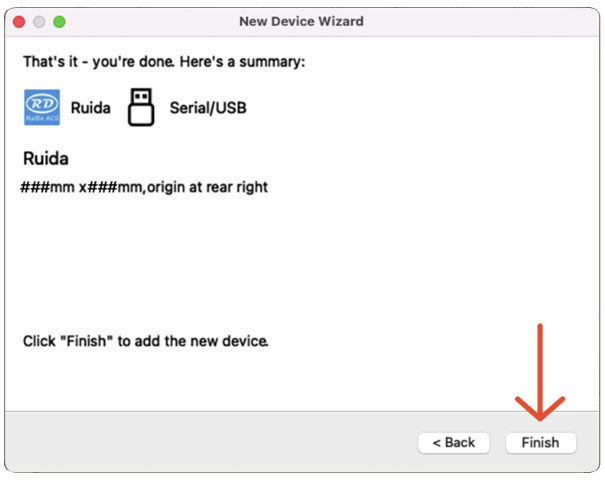
New Device Wizard window - Ensure that everything is correct and click Finish.
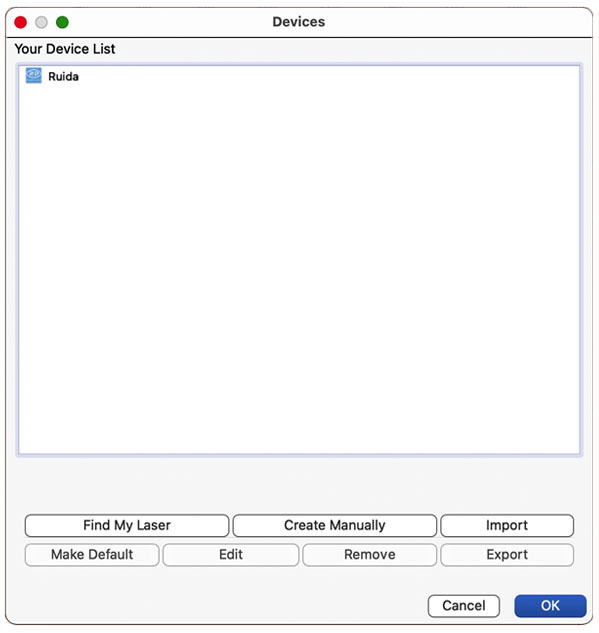
New Device Wizard window - Click OK.
Devices window
That's it!


