-

Getting Started 16
-

Maintenance 14
-

Troubleshooting 14
-

Repair 8
-

Laser 101 3
-

Materials 10
-

Accessories 20
-

Multi-Roller 7
-

LightBurn 9
LightBurn Setup Using LightBurn License - Before Your Machine Arrives (PC)


What you'll need
- Windows Computer
- Internet Connection
- LightBurn License Key
- USB Thumb Drive
- USB Cable
Need assistance?
Book time with a qualified technician and get help setting up and navigating LightBurn.
Software and Driver Installation
- Go to: https://lightburnsoftware.com/pages/trial-version-try-before-you-buy
- Select your version of Windows from the list to initiate the download.
📌 Note: If you're not sure which version you have, type the words "System Information" into the Search field located at the bottom left corner of your Taskbar. Look for System Type to determine if you have version 32 or 64.
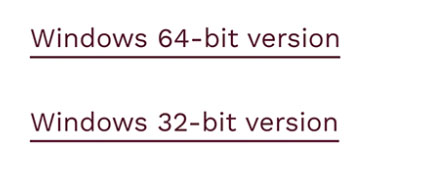
Choose 32-bit or 64-bit - Double-click to launch the Lightburn .exe file.
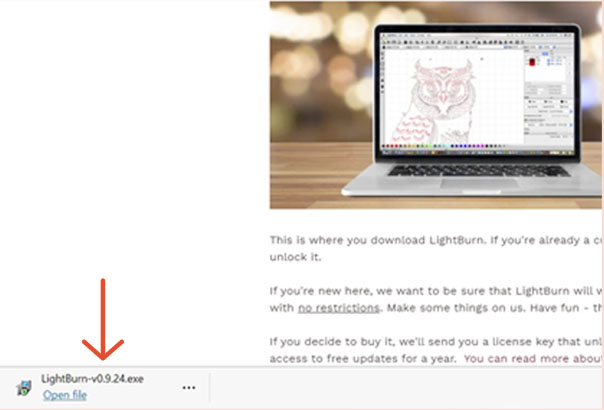
Lightburn .exe file If you receive the message “Do you want to allow this app to make changes to your device?” Click Yes.
- Click Next to install LightBurn into the Program Files folder.
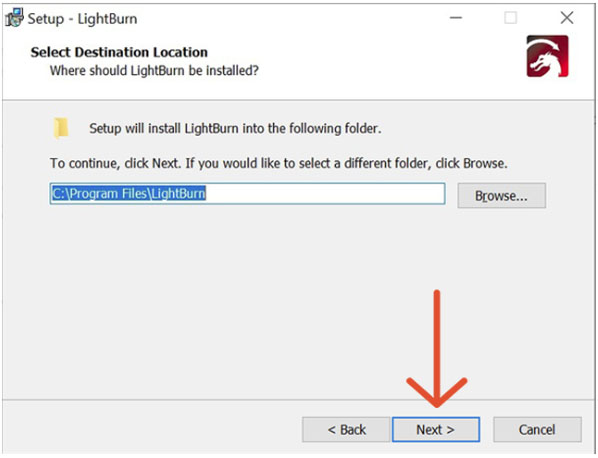
LightBurn Setup window - Click Next to create a LightBurn folder and shortcut in the Start Menu.
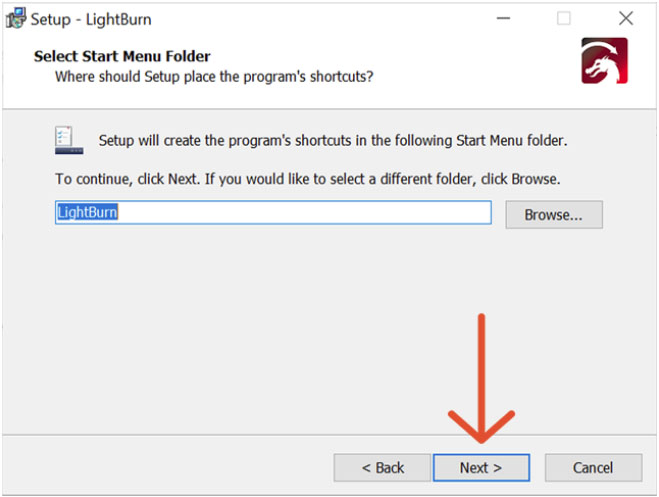
LightBurn Setup window - Click Next to create a shortcut to LightBurn on your desktop.
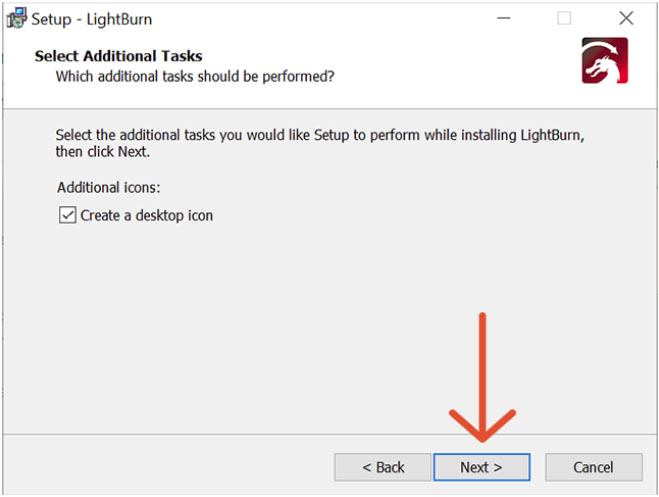
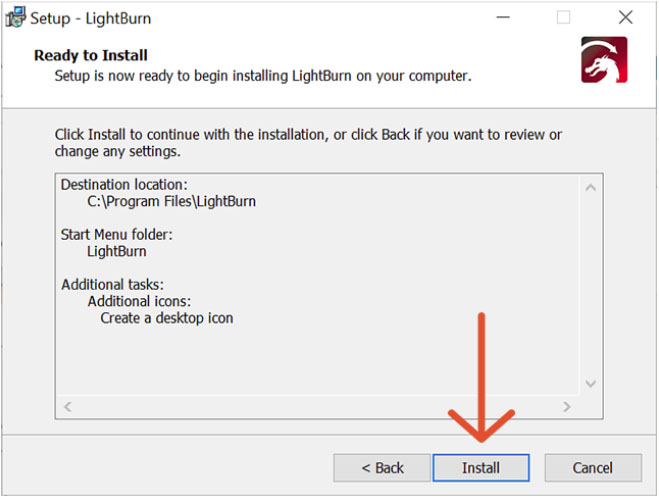
LightBurn Setup window - Click Install to continue.
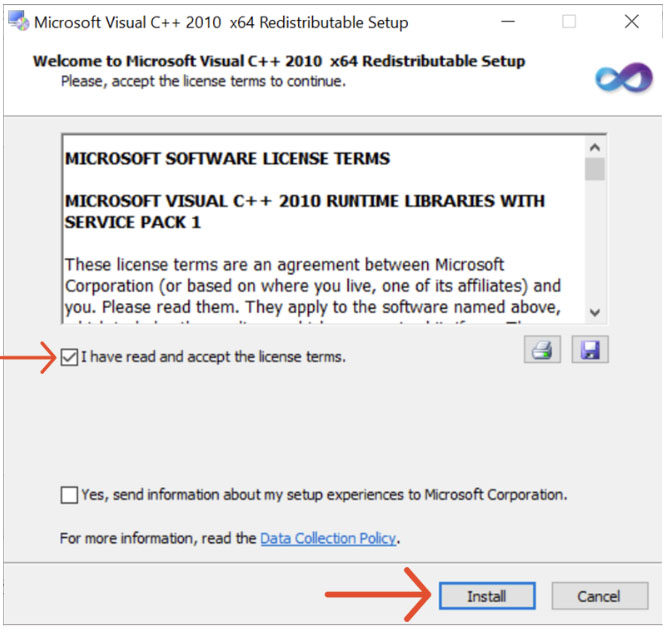
LightBurn Setup window - If applicable, check the box to confirm you have read and accept the Microsoft Visual license terms, and click Install.
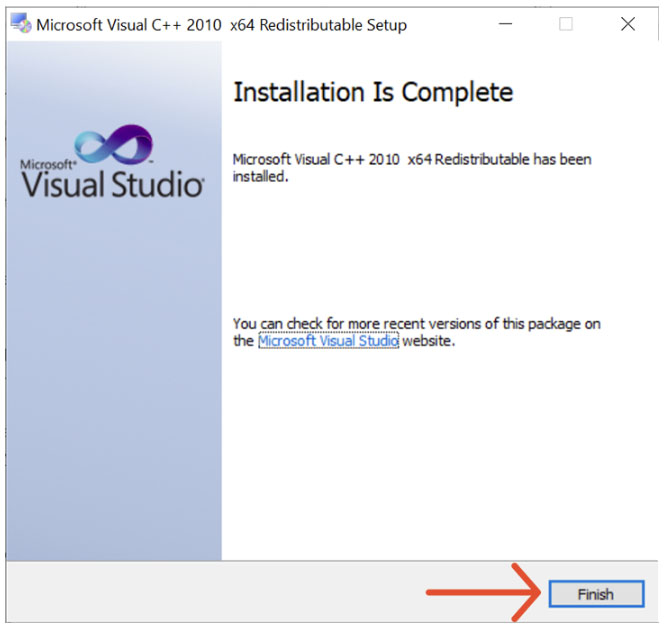
License terms confirmation window - When the installation is complete, click Finish.
Installation finished - If applicable, check the box to confirm you have read and accept the Microsoft Visual license terms, and click Install.

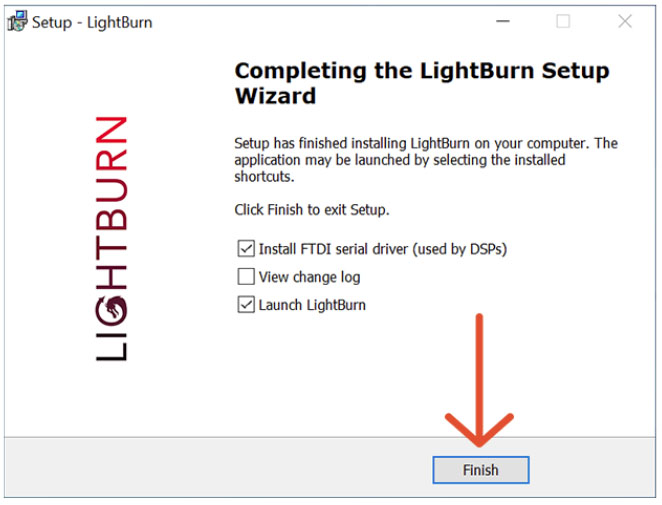
Microsoft Visual license terms and conditions - Check both Install FTDI serial driver and Launch LightBurn. Click Finish.
LightBurn Setup Wizard - Click Extract to unpack the Windows driver and launch the installer.
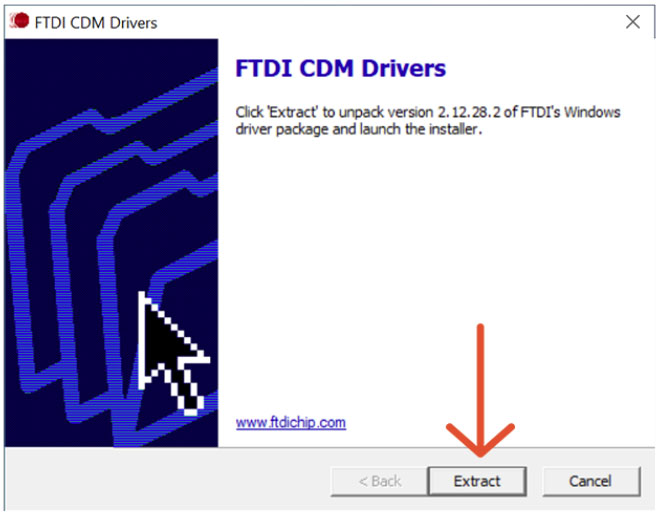
FTDI CDM Driver window - Click Next to continue.
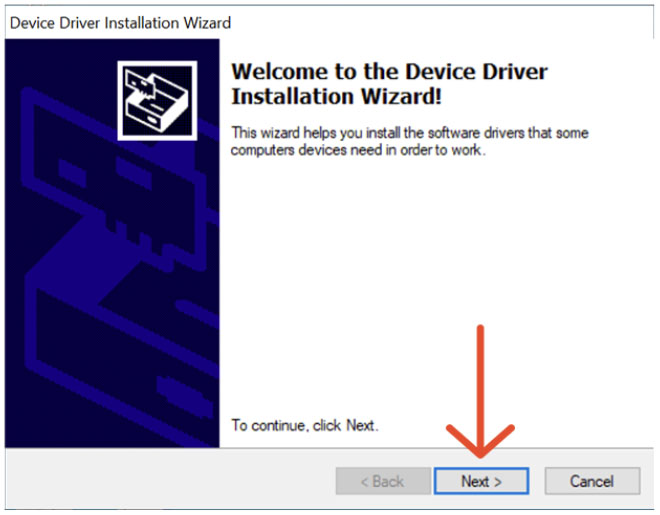
Device Driver Installation Wizard - Click Allow access to allow LightBurn to communicate on these networks.
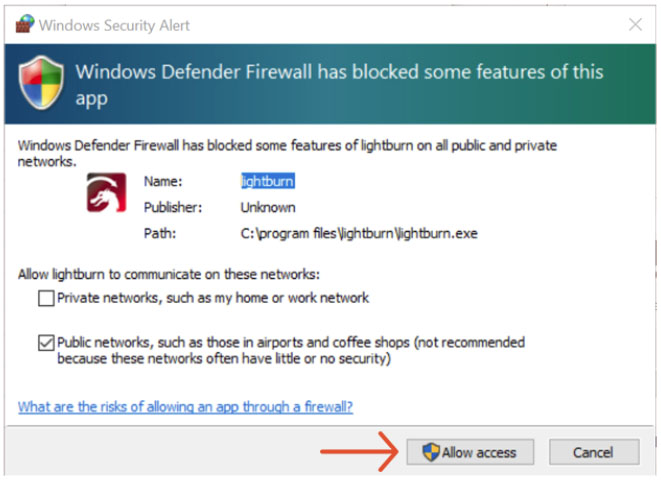
Windows Security Alert LightBurn will automatically launch.
- Copy and paste your LightBurn License Key, and then click the Activate License button. Click OK.
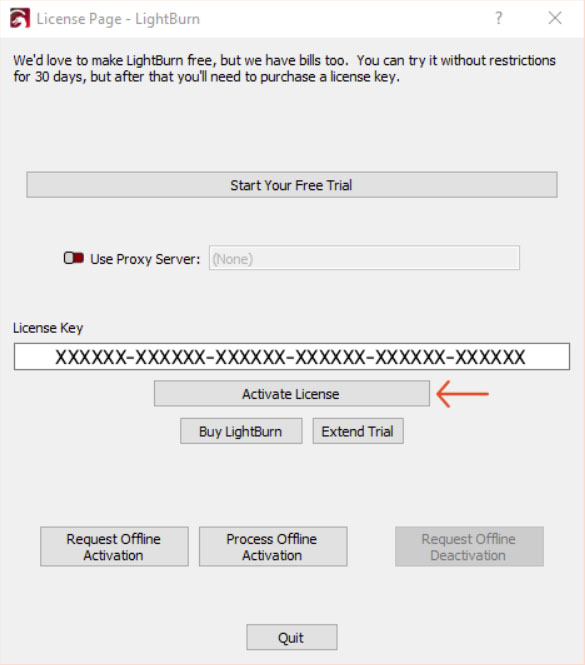
LightBurn License page - Click OK.
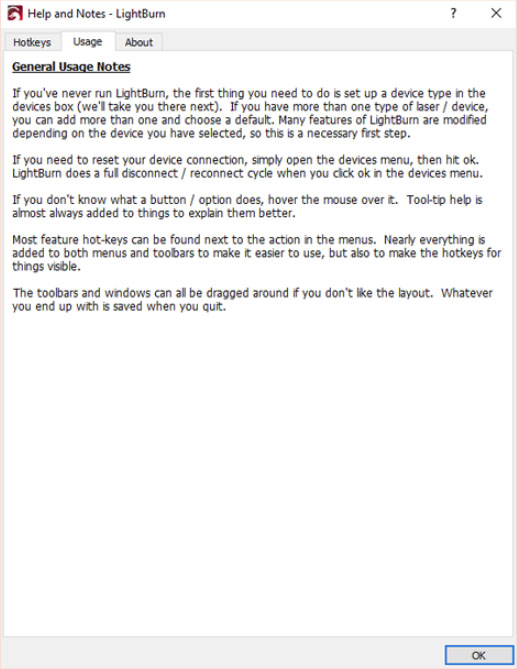
Help and Notes page - In the Devices window, Click Create Manually.
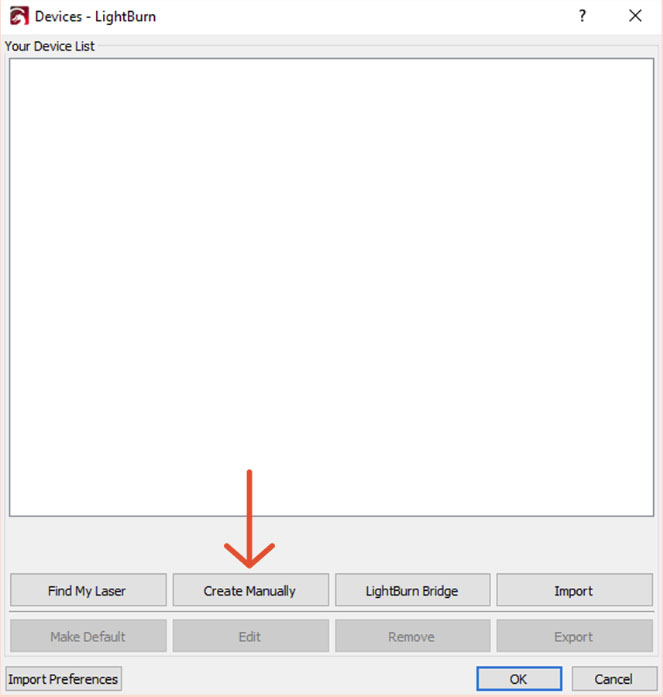
Devices window - Click on Ruida, and click Next.
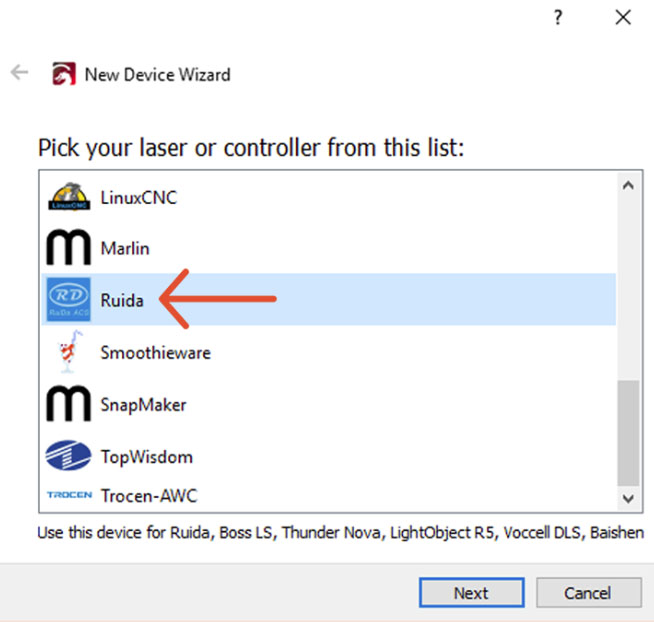
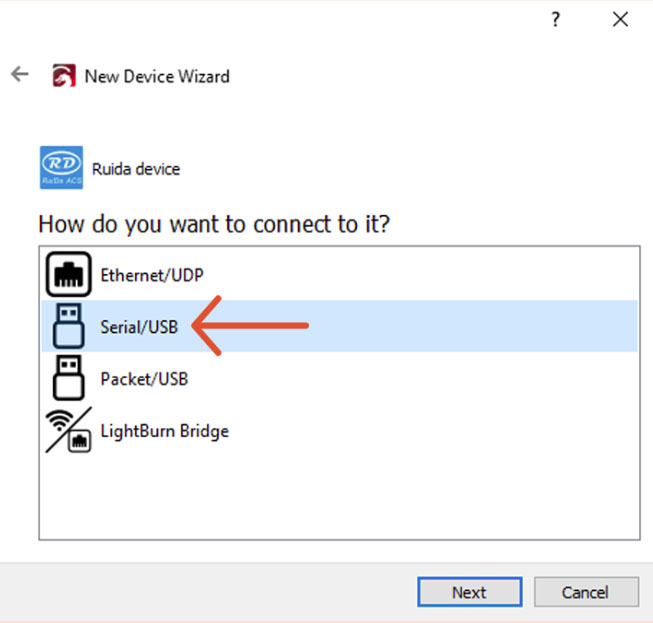
New Device Wizard - Click on Serial/USB, and click Next.
New Device Wizard - Enter the X Axis Length and the Y Axis Length in mm. Click Next.
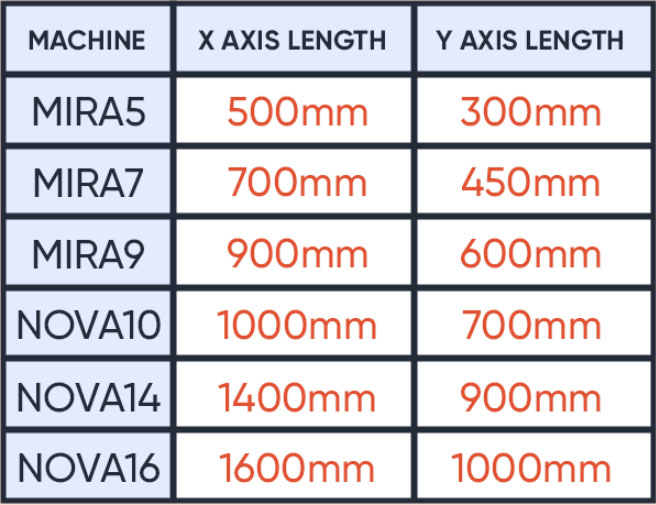
Find your machine's X and Y axis length 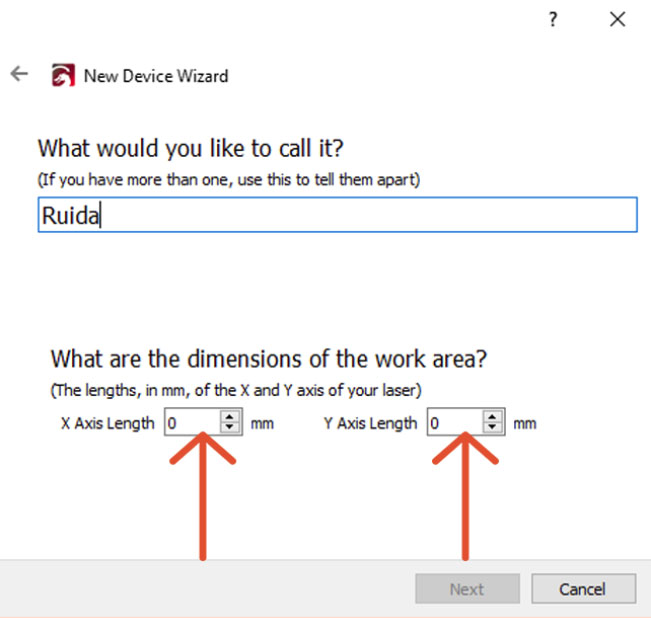
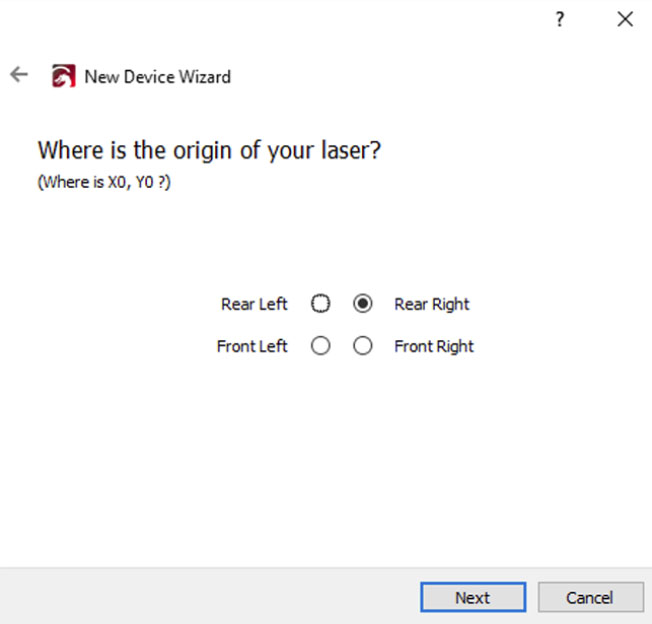
New Device Wizard window - Set the Origin by clicking on Rear Right. Click Next.
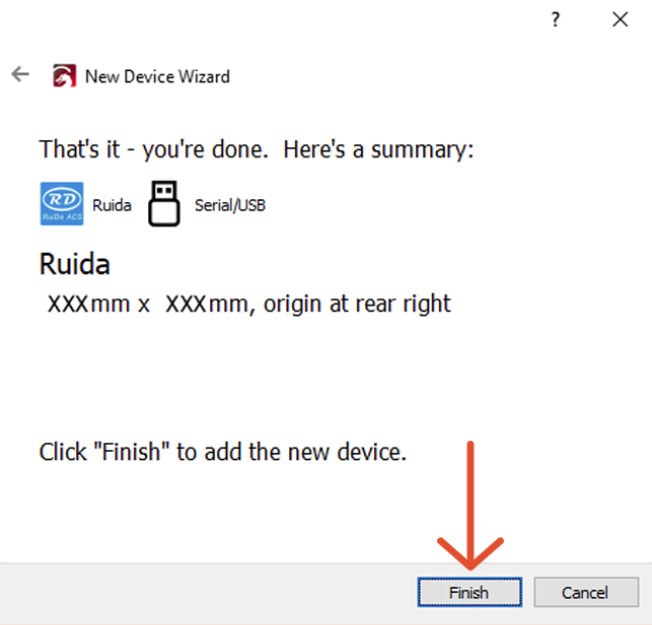
New Device Wizard window - Ensure that everything is correct and click Finish.
New Device Wizard window - Click OK.

New Device Wizard window
That's it!


