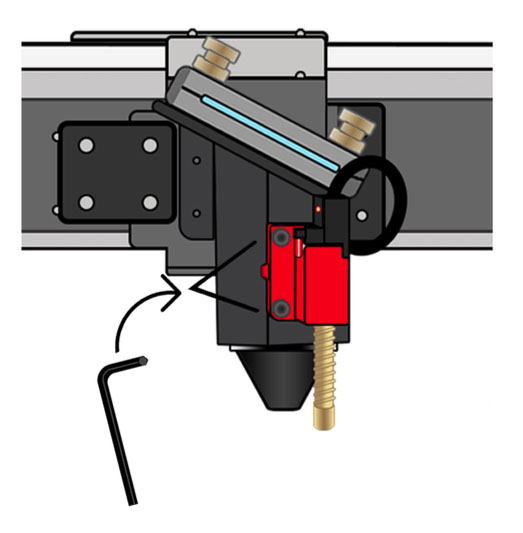
Place a cloth or board under the laser head, resting on the blades. This will catch any bolts that may fall.
Using a 2.5mm Allen key, remove the two bolts holding the autofocus assembly to the laser head, and let it hang out of the way.
2.5mm Allen key
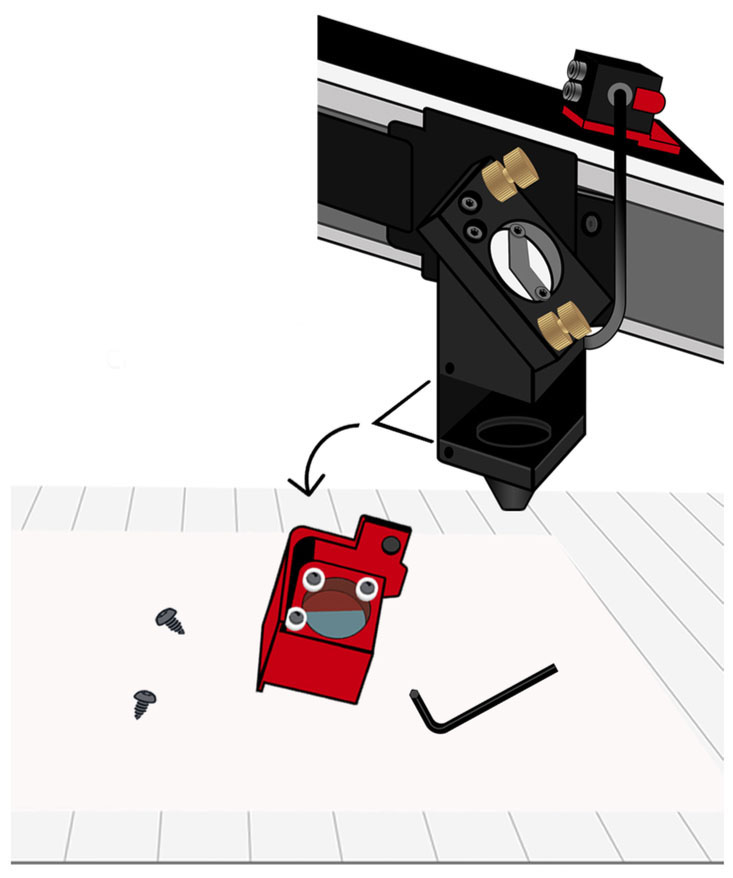
Slide out the lens holder cartridge and store in a safe location.
Lens holder cartridge, Allen key, two screws, on cloth
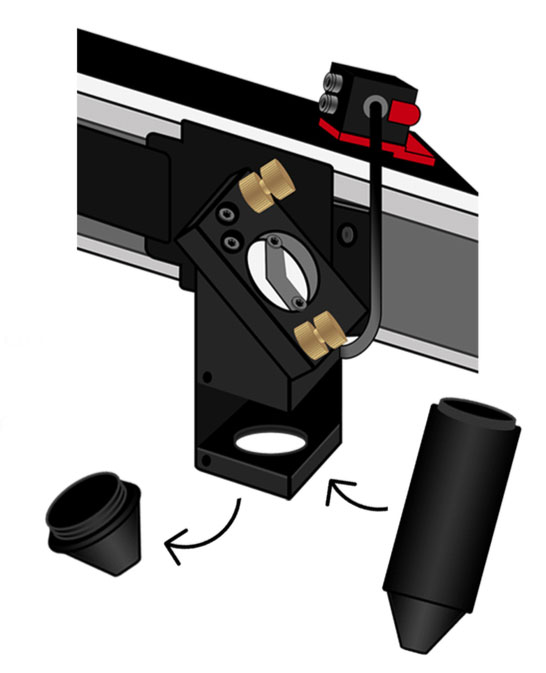
Unscrew the stock nosecone from the bottom of the laser head.
Stock nosecone (left), Extended nosecone (right)
Install the extended nosecone from the 4-inch lens kit, careful not to over tighten.
Install the included lens holder cartridge with a pre-installed 4-inch lens.
Extended nosecone and lens holder cartridge with a pre-installed 4-inch lens
Reinstall autofocus assembly with 2.5mm Allen key, be careful not to over tighten the bolts. Remember to route the cable safely out of the laser path.
Autofocus assembly, reinstalled
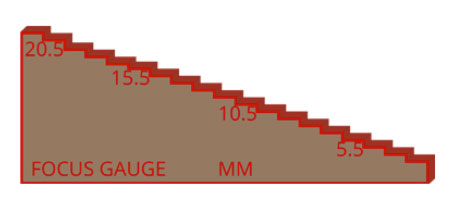
⚠️CAUTION ⚠️ Do not attempt to autofocus machine with 4-inch lens kit installed. Use a focus gauge to manually set the focal distance to the material.